Installing Scout Board
Scout Board is installed as a component of the Scout Enterprise Management Suite.
-
Download the latest version of the Scout Enterprise Management Suite and start the installation process. For further information, see Installing Scout Enterprise Management Suite in the Installation short guide or Upgrading to newer versions.
-
Fresh installation: By default, the Scout Board is part of the installation.
Upgrading a previous version without Scout Board: Activate the Scout Board component.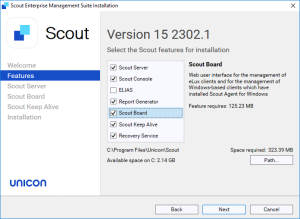
-
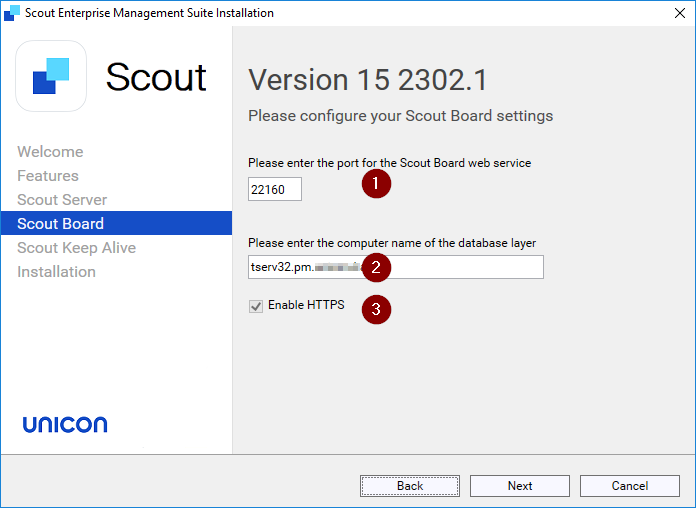
Then configure your Scout Board settings.

1 Number of the port on which the Scout Board service should run 2 Computer name (FQDN) of the machine on which the database layer is to run 3 With HTTPS, a secure connection to the interface is used. Initially, a self-signed certificate is created. To configure an individual SSL certificate instead, see below.
-
Follow the further instructions.

Configuring an individual HTTPS certificate for Scout Board
Self-signed certificates are not accepted as secure by the browser. To provide the browser with a valid SSL certificate for Scout Board perform the following steps:
-
Rename your certificate file to certificate.crt and the private key file to private.key
-
Copy both files into the Scout Board program directory. By default, this is C:\Program Files\Unicon\Scout\Scout Board
-
Still in the Scout Board program directory, edit the .env file and change the entry CERTIFICATE=SELFSIGN to CERTIFICATE=SIGN
-
Restart the Scout Board service.
Configuring AD domains for Scout Board
The AD domain for the logon process is being used from the provided data during the installation process.
In the .env file, the configuration is available. If the domain changes or additional domains need to be added, these can be added manually.
The defined domains will be selectable in the Scout Board Logon dialog.
Info: After modifying the .env file, the windows service "Scout Board" needs to be restarted.
Example:
One domain:
DOMAINS=["production.mydomain.com"]
Multiple domains:
DOMAINS=["production.mydomain.com", "test.mydomain.com"]

